
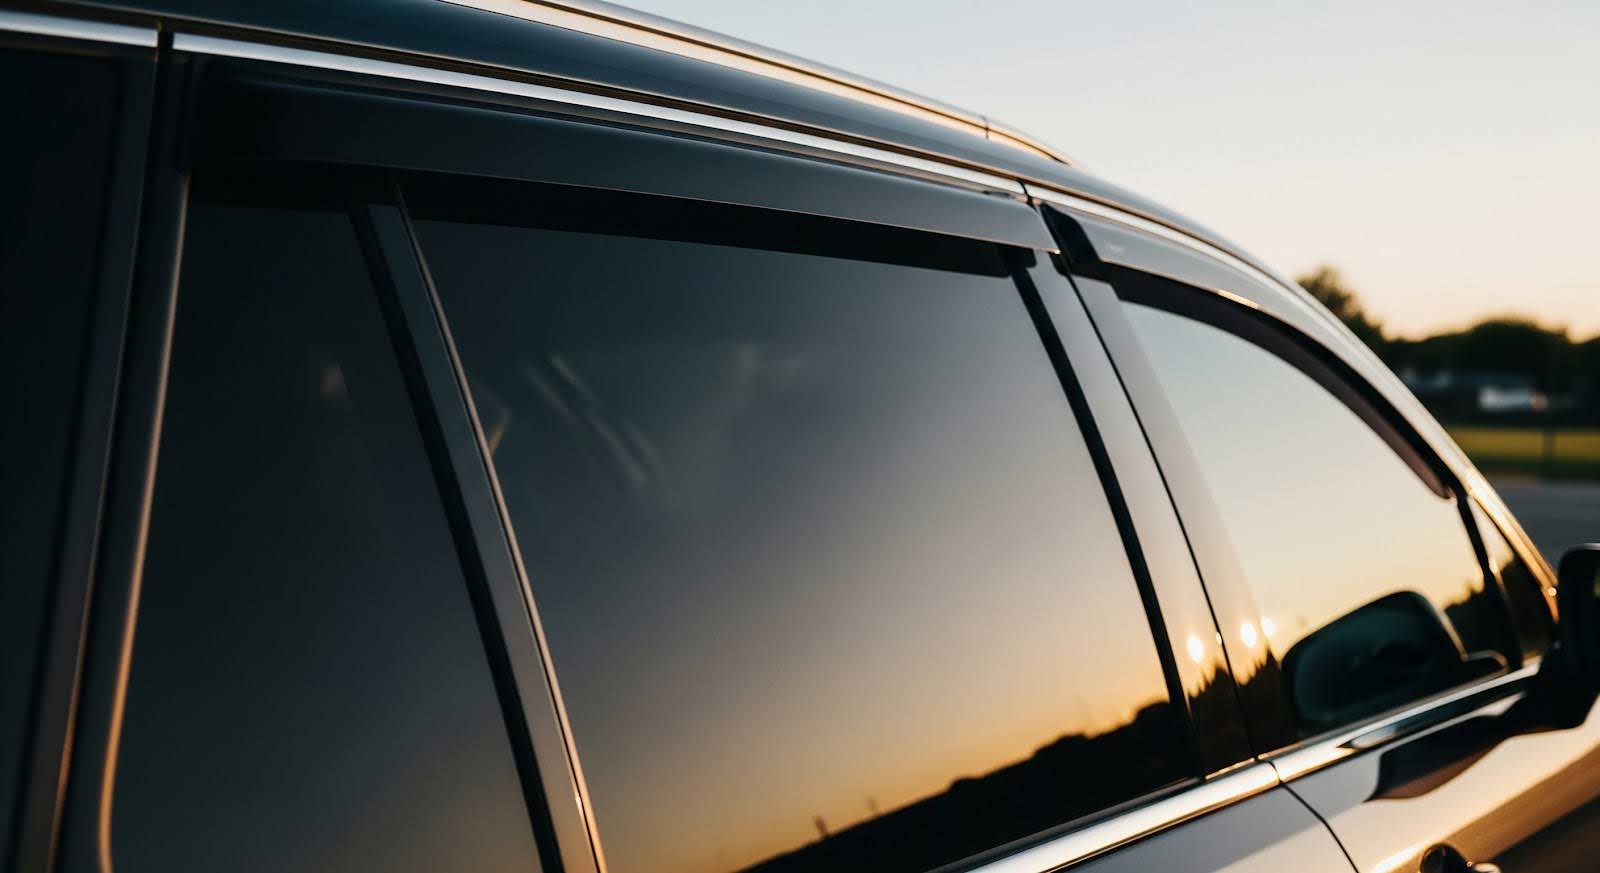
Whether your window tint is bubbling, peeling, or simply out of style, knowing how to remove window tint can save you time, money, and frustration. Over time, exposure to sunlight and wear can degrade window film, making it unsightly or even illegal in some areas if it no longer meets local tint regulations.
Removing window tint might seem like a simple peel-and-go job, but doing it incorrectly can lead to messy adhesive residue, scratched glass, or damaged defroster lines. That’s why it’s important to understand the right methods and tools for safe and effective window tint removal.
As a company specializing in professional auto glass repair and replacement, Auto Glass Pro has seen firsthand what happens when tint removal goes wrong. This guide will walk you through proven techniques for removing tint from your vehicle’s windows without compromising the glass underneath.
Why People Remove Window Tint
Drivers choose to remove old window tint for several reasons. Over time, exposure to sunlight and weather can cause tint to bubble, fade, or peel, leading to poor visibility and a worn-down appearance. In some cases, film may turn purple or leave behind sticky residue, especially on older vehicles.
Legal compliance is another common factor. In Canada, tint regulations vary by province, especially when it comes to front-side windows and windshields. For example, in Ontario, any tint on the windshield is prohibited, and front side windows must allow at least 70% light transmission. Meanwhile, other provinces like British Columbia and Alberta have slightly different rules. This means that tint, which was once considered acceptable, may now be too dark or non-compliant under newer standards.
Vehicle owners who move between provinces or are pulled over for a routine check may be required to remove illegal tint to avoid fines or inspection issues.
Regardless of the reason, learning how to remove auto tint safely can help you avoid fines during inspections and prevent potential damage to your vehicle’s glass. If you uncover chips or cracks while removing the film, scheduling convenient mobile auto glass services can save you a trip to the shop and help ensure your vehicle stays road-ready.
Window Tint Removal Tools You’ll Need
Before starting any window tint removal, having the right tools on hand will make the process smoother, safer, and more effective. Whether you’re figuring out how to remove auto window film from a side window or tackling window film removal from a rear windshield, here’s what you’ll need:
- Heat gun or steamer – Softens the adhesive so you can peel the film cleanly
- Razor blade or plastic scraper – Helps lift and remove tint; plastic is safer on defroster lines
- Ammonia, soapy water, or commercial tint adhesive remover – Dissolves leftover glue from the glass
- Safety gear – Gloves, a mask, and a microfiber cloth help protect your hands and keep the glass clean
- Optional: plastic sheeting or tarp – Useful for shielding car interiors from cleaner overspray
For rear windshields where tint covers delicate defroster lines, any damage during removal may require auto glass windshield replacement to restore full visibility and functionality.
How Do You Remove Window Tint?
Removing tint film doesn’t require professional tools, but it does require patience and the right technique. Whether you’re doing automotive tint removal on your side windows or working with curved rear glass, follow these steps to avoid damaging the surface underneath.
Step 1: Prep Your Workspace
Before you begin, park your vehicle in a well-ventilated area, ideally indoors or in the shade. Lower the windows slightly to reach the edges of the tint, and cover nearby surfaces with plastic or towels to protect against adhesive spray or residue.
Step 2: Apply Heat
Use a heat gun, steamer, or hair dryer to warm the tint, starting from a corner and working across the surface. The heat softens the adhesive, making it easier to peel the film without tearing. This method is especially effective for auto tint removal where the adhesive has baked onto the glass.
Step 3: Peel Off the Film
Once heated, gently lift a corner of the tint using a plastic scraper or fingernail. Pull the film slowly at a low angle while applying more heat as needed. If it tears, reheat and continue. This step is critical in learning how to peel off window tint without leaving behind large amounts of residue.
Step 4: Remove Adhesive Residue
After the film is off, you’ll likely have adhesive left behind. Spray the glass with ammonia, soapy water, or a commercial tint adhesive remover. Let it sit for several minutes, then use a scraper or microfiber cloth to remove the softened glue. Repeat as needed for stubborn spots.
Step 5: Clean the Glass
Finish by wiping the surface with glass cleaner and a lint-free cloth to remove any smudges or streaks. This leaves your windows clear and ready for a new tint.
Troubleshooting Tips and Common Mistakes
Even with the right tools and techniques, taking off tint can get frustrating if the film is old, baked on, or installed with a heavy-duty adhesive. Here are a few common challenges and how to fix them:
- The film keeps tearing.
If you’re wondering how to get window tint off without shredding it into pieces, the key is to apply more heat. A steamer or heat gun makes the adhesive more pliable and easier to peel in larger sections. - Sticky glue won’t come off.
For particularly stubborn auto window film, you can spray the film with ammonia, cover it with plastic wrap, and let it sit in the sun for 30–60 minutes. The heat will help the ammonia break down the adhesive, making peeling and cleanup easier. - Defroster lines are exposed.
Be especially cautious on rear windows. If you’re wondering how to remove glass tint without damaging defroster lines, avoid metal blades and use plastic scrapers instead. - You scratched the glass.
If you notice surface damage, reassess your tools. A plastic scraper and microfiber cloth will help reduce the risk to delicate surfaces.
When to Let Professionals Handle It
While removing tint can be a manageable DIY task, there are situations where it’s best to involve a professional, especially if you run into glass damage during the process. Rear windshields with defroster lines, curved side windows, or older adhesive can complicate the job and increase the risk of scratches, cracks, or electrical damage.
If you notice any glass imperfections, whether they were hidden under the film or happened during removal, it’s a smart move to have the damage professionally assessed. Auto Glass Pro specializes in expert glass repair and full replacements, including on-site service through our fully-equipped mobile fleet. We ensure your auto glass is safe, clear, and compliant, so you can drive with safety and confidence.